Making Your First Deposit
The dreamDEX 101 walkthrough: connect a wallet, fund your account, and get the USDso you need to trade — all from the dreamDEX app.
What you'll need: an EVM wallet (MetaMask, Brave, or Rabby — or just an email / social login) and a few minutes. dreamDEX provisions a Privy-backed smart wallet for you; your keys stay self-custodial.
Building a bot or integrating programmatically? This guide covers the app UI. For the API, CLI, and direct-contract flow, see the Quick Start.
Connect your wallet
Open the app and click Connect Wallet
Head to app.dreamdex.io and click Connect Wallet in the top right of the order tab.
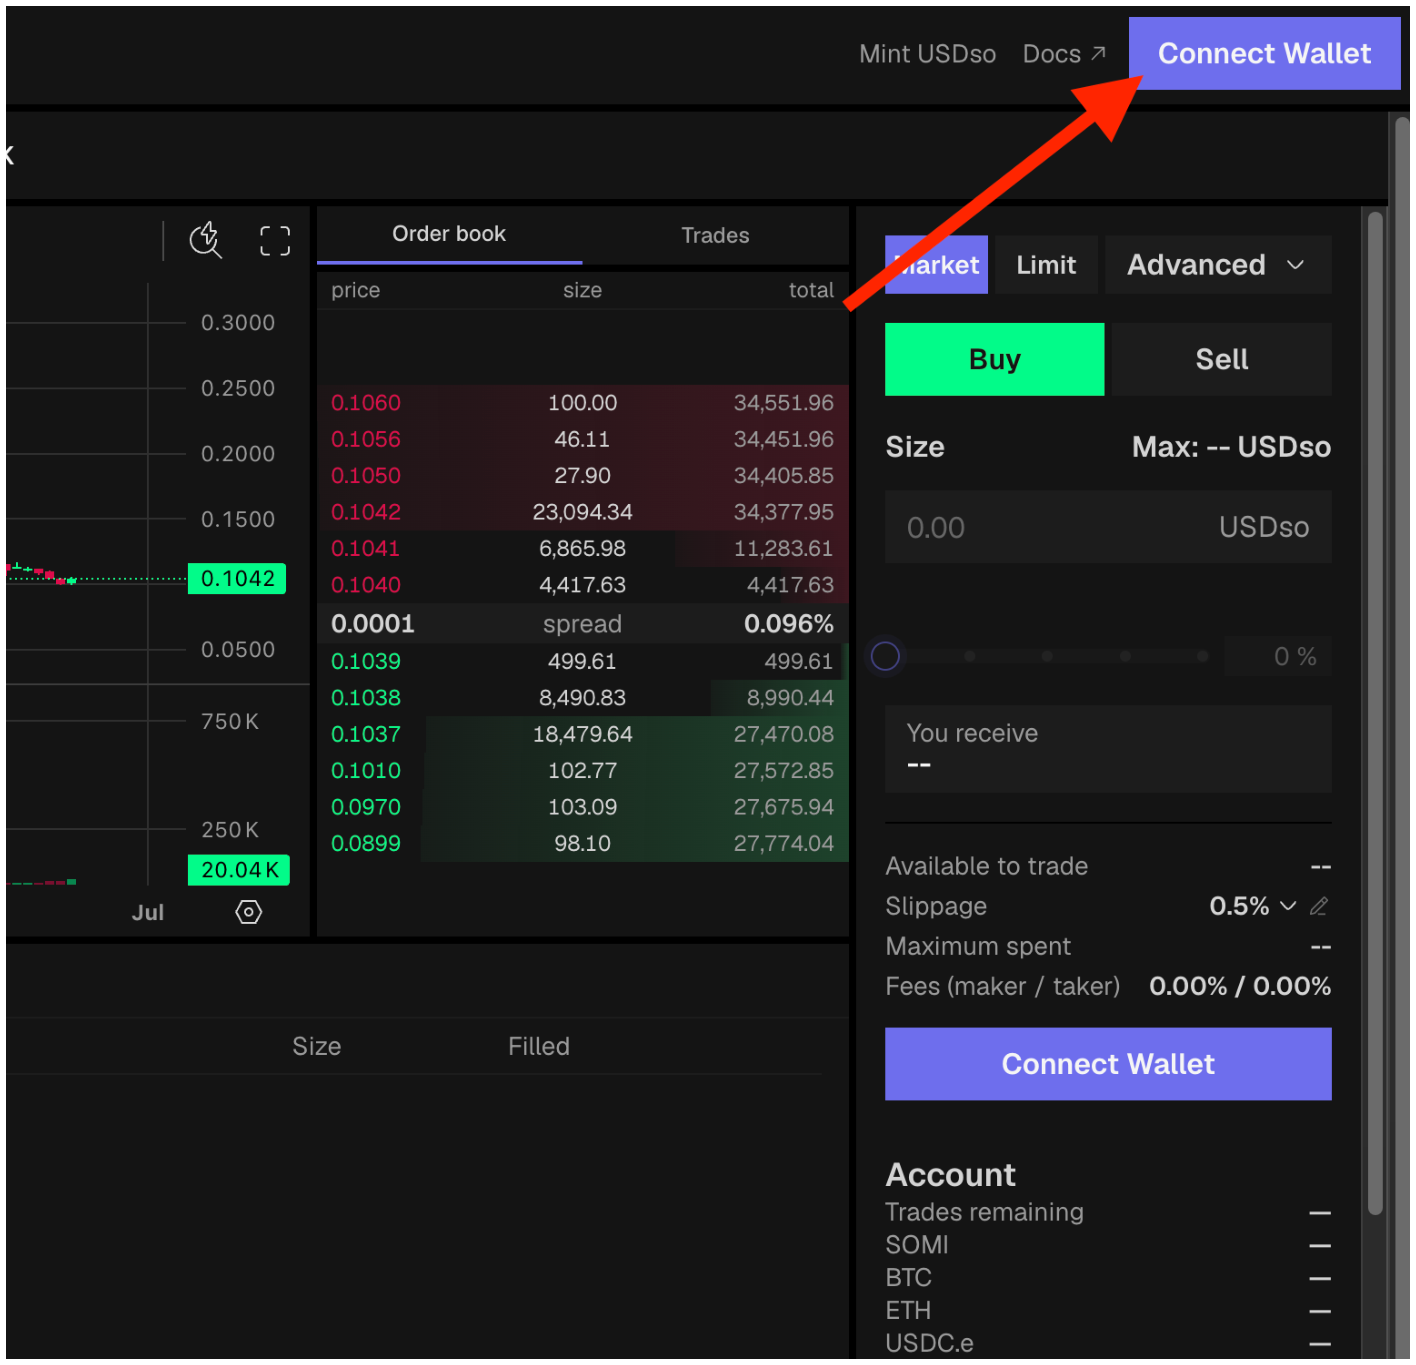
The order tab — Connect Wallet is top right.
Pick your wallet
Choose MetaMask, Brave, or Rabby from the list — or log in with email or socials.
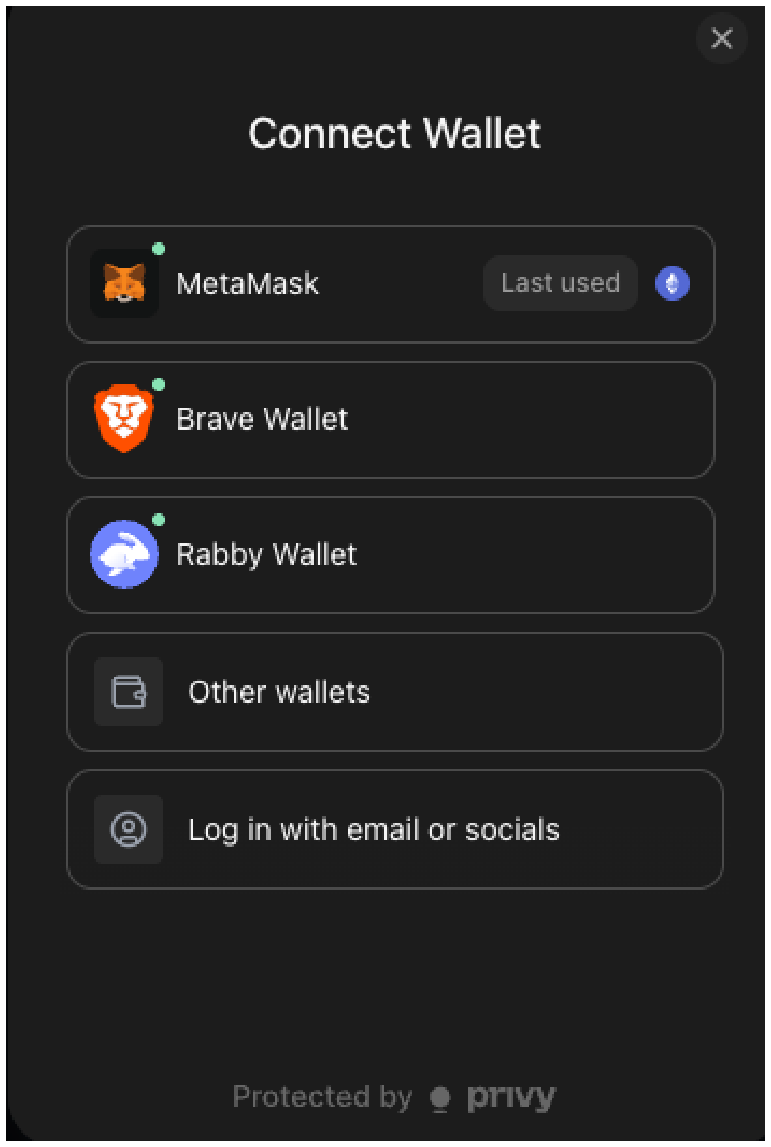
Select a wallet, or use email / social login.
Approve the connection
Confirm the connection request in your wallet.
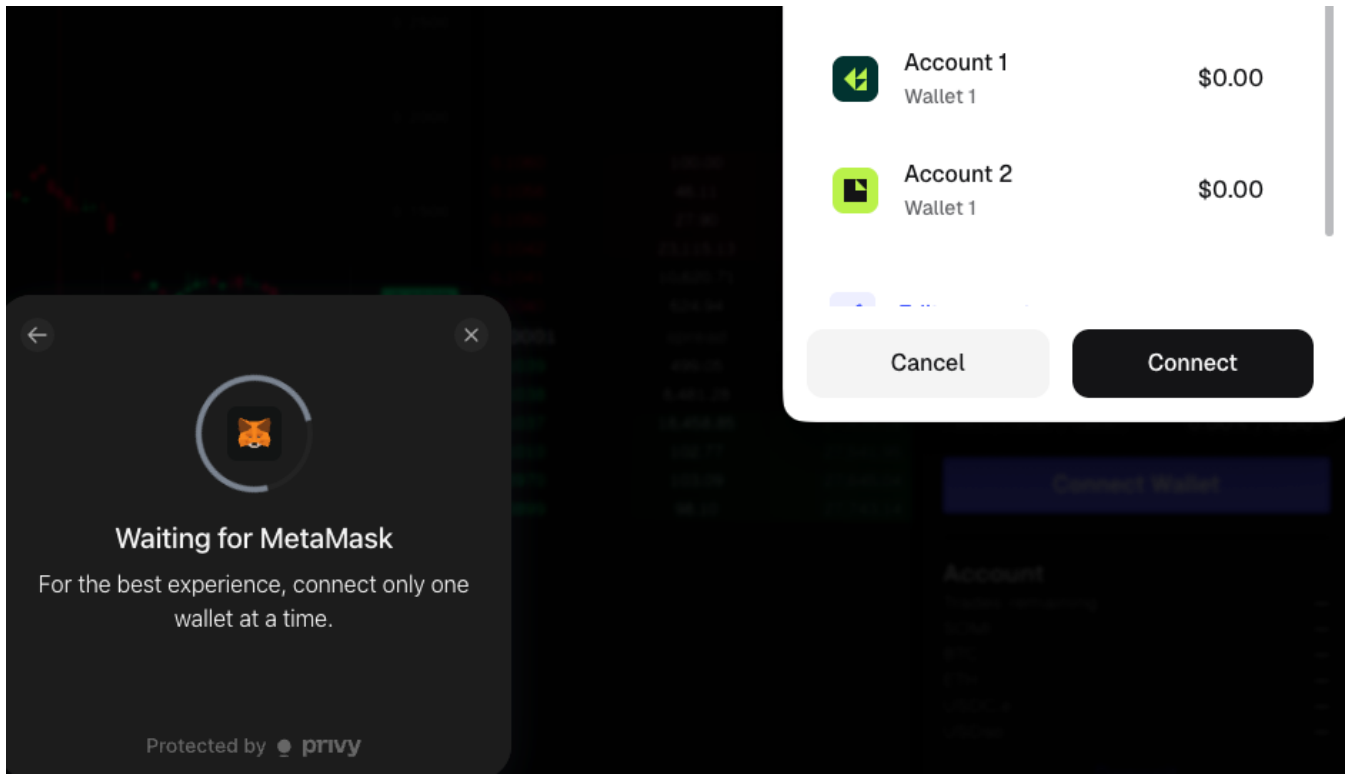
Approving the connection in MetaMask.
A
0balance in MetaMask does not mean you have zero Somnia balance due the way Metamask currently calculates balances.
Sign to log in
This provisions your Privy smart wallet for account abstraction; you'll make 1–2 signatures. Signing proves you own the wallet — it doesn't move funds or cost any fees.
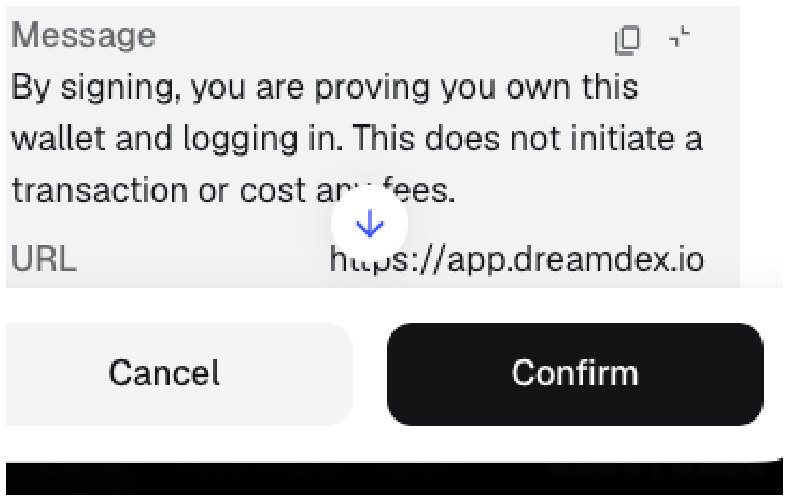
The login signature — no transaction, no fees.
Fund your account
Click Deposit
In the account panel on the right, click Deposit.
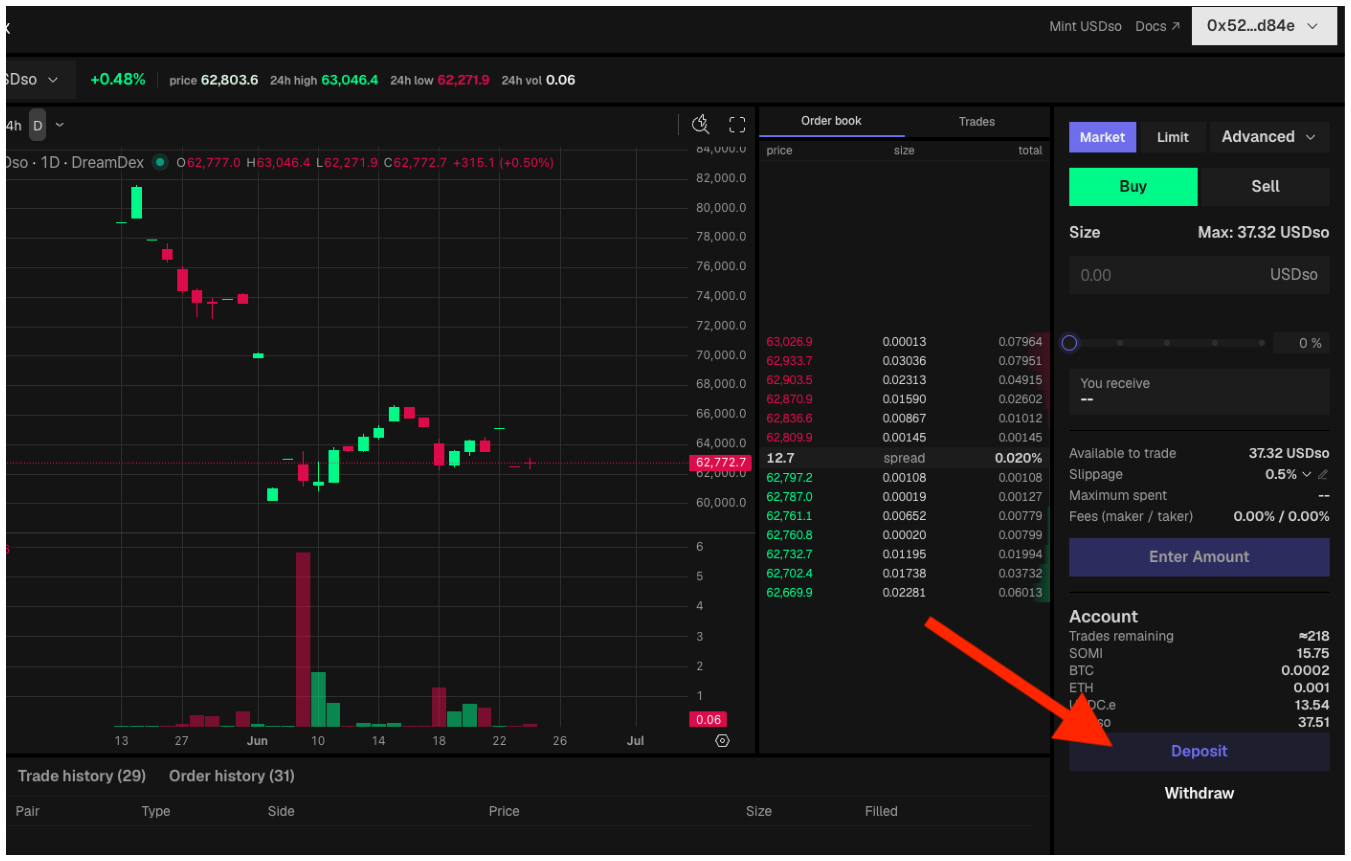
The Deposit button in the account panel.
Choose your asset and source chain
Open the From dropdown and pick what you're depositing. We expect the most common deposits to be SOMI from Somnia, USDC from Arbitrum, or USDso on Somnia.
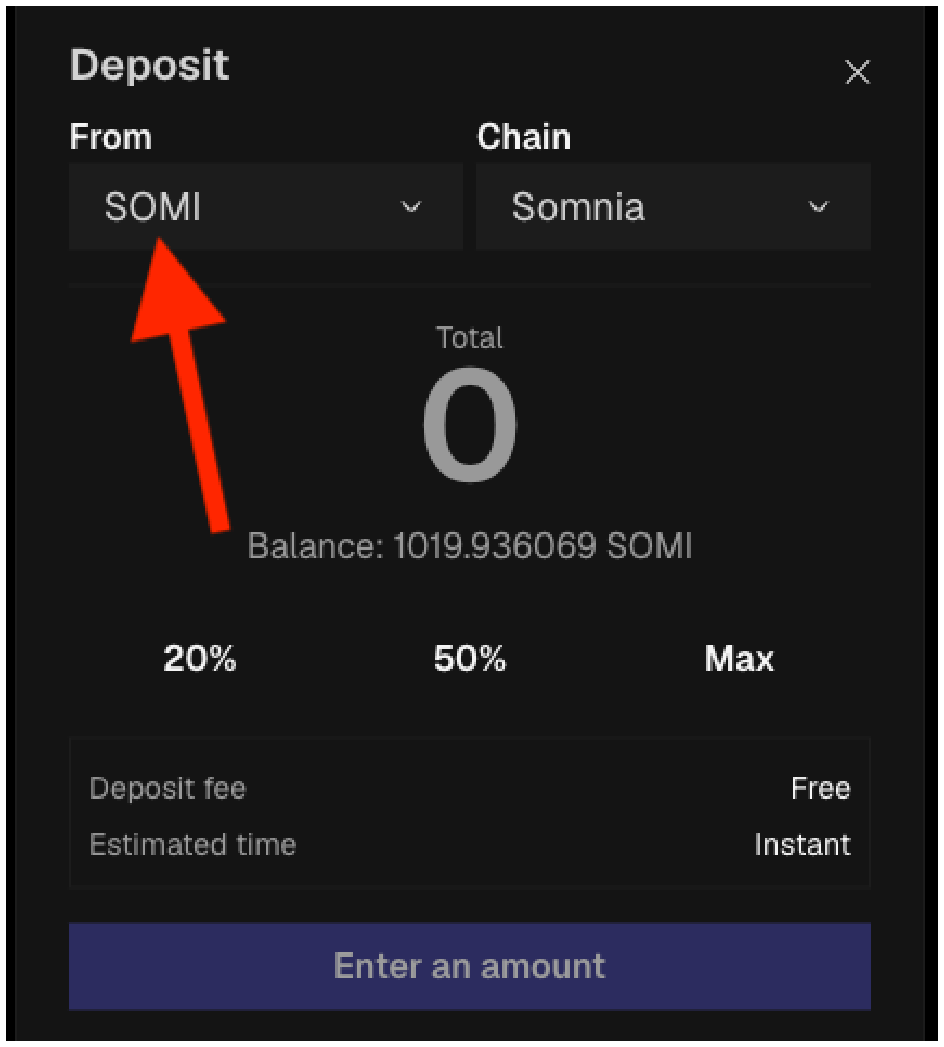
Open the From dropdown.
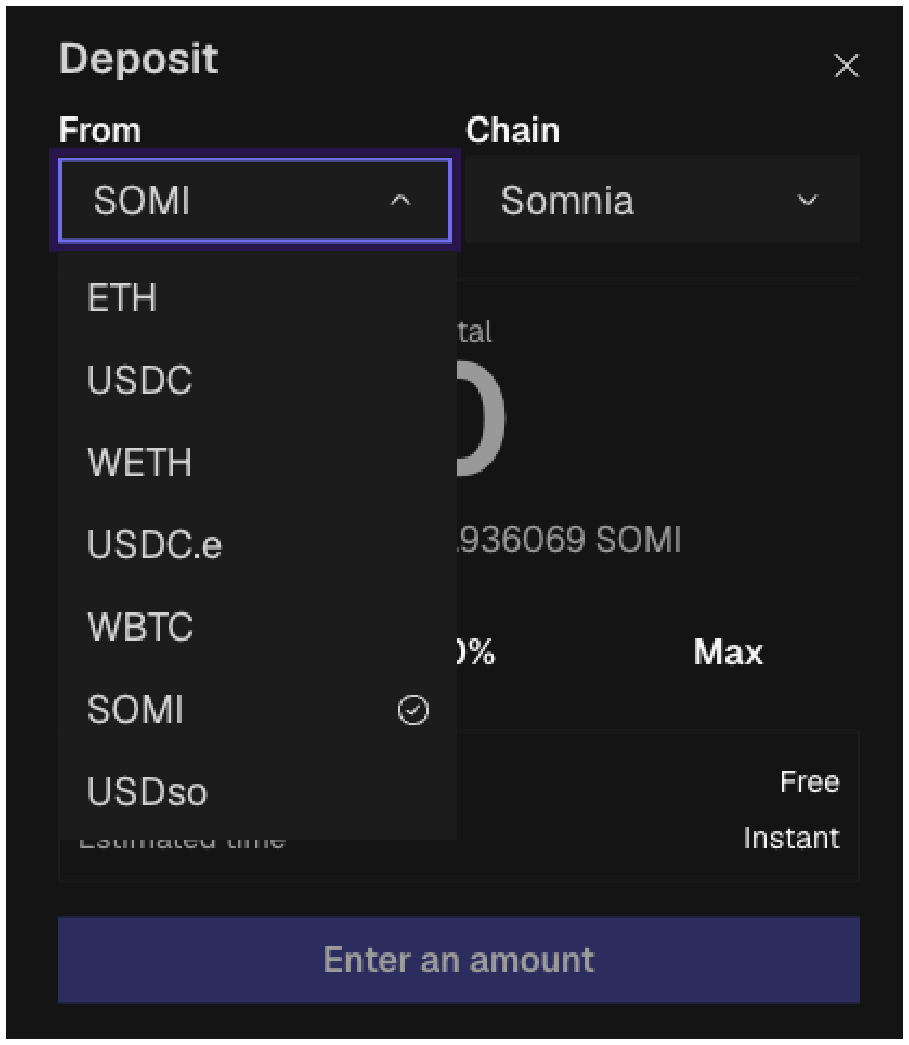
Supported deposit assets.
Enter an amount and confirm
In this example, depositing $100 of USDC from Arbitrum routes USDC → USDC.e → USDso. If auto-buy gas is on (the default while your trading account holds no SOMI), the app also buys 1 SOMI for your first transactions, as long as the deposit is worth at least about 1.1 SOMI, your account holds less than 0.05 SOMI, and at least 2 USDso is available after the conversion. WETH and WBTC deposits do not buy gas.
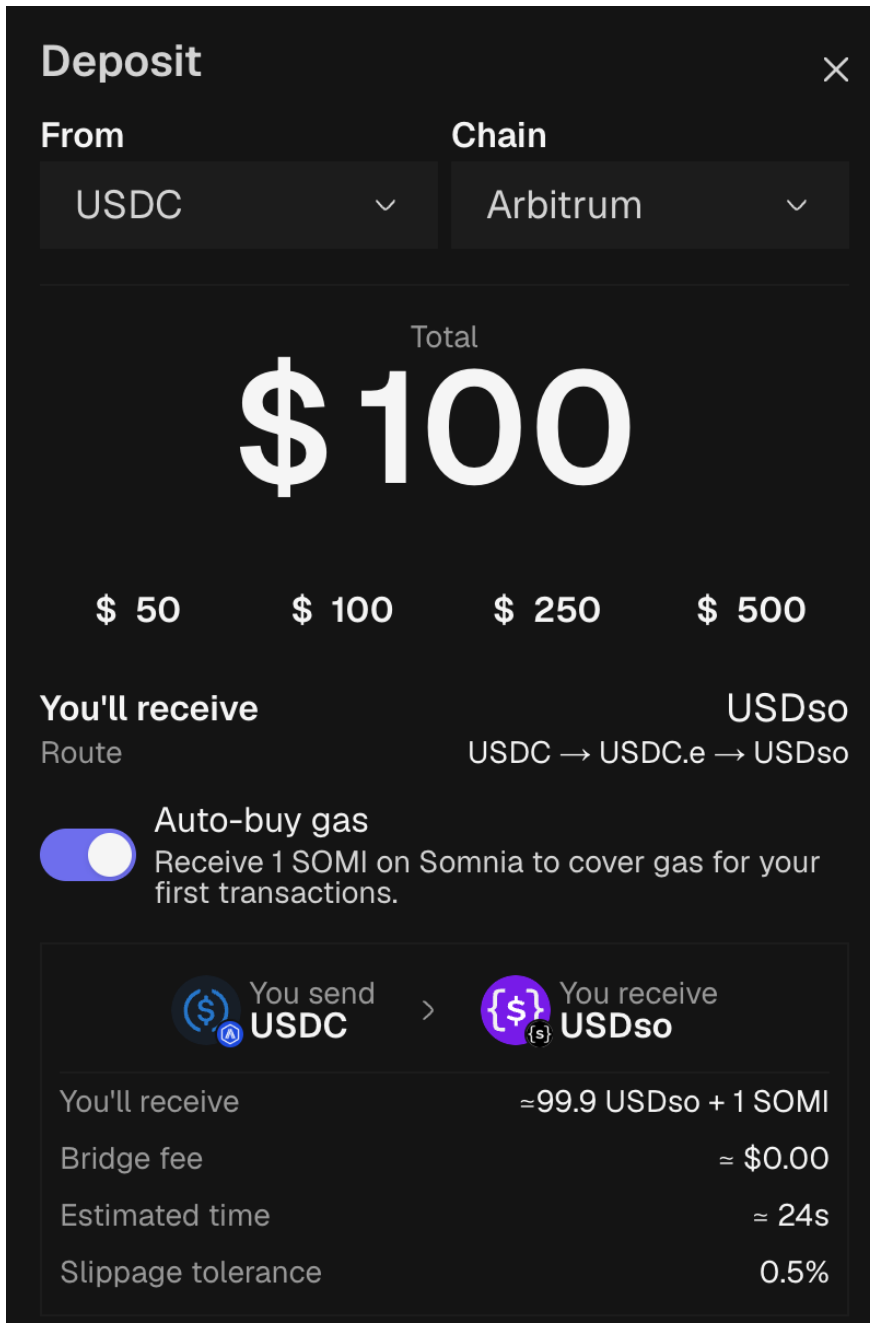
Depositing USDC from Arbitrum, received as USDso.
That's it — your assets are now on dreamDEX.
Fees. We're launching with zero trading fees — only (very small) gas fees. The SOMI ↔ USDso and USDC.e ↔ USDso pairs are sponsored; otherwise you need the network's native token (SOMI on mainnet, STT on Shannon testnet) for gas.
Deposits. Every pair trades against our stablecoin USDso. Bring USDC / USDC.e cross-chain and you'll receive USDso via our 1:1 swap contract (plus, optionally, some SOMI for gas); USDso is redeemable for USDC. Somnia-native assets can be deposited without bridging.
Getting USDso
Since every pair trades against USDso, you'll usually want some. There are three ways, easiest first:
- Deposit (recommended). Click Deposit and use the module with USDC from one of the source chains in the Chain picker (bridged over LayerZero) — cheapest for most users.
- Trade for it. Buy USDso on the USDC.e ↔ USDso CLOB pair.
- Frax Mint & Burn widget (backup). Mint USDso directly through our partner Frax's embedded widget — walked through below.
Minting USDso with the Frax widget
Open Mint USDso
If you logged in with an external wallet and the Mint USDso button appears in the Portfolio header, click it, then click Next.
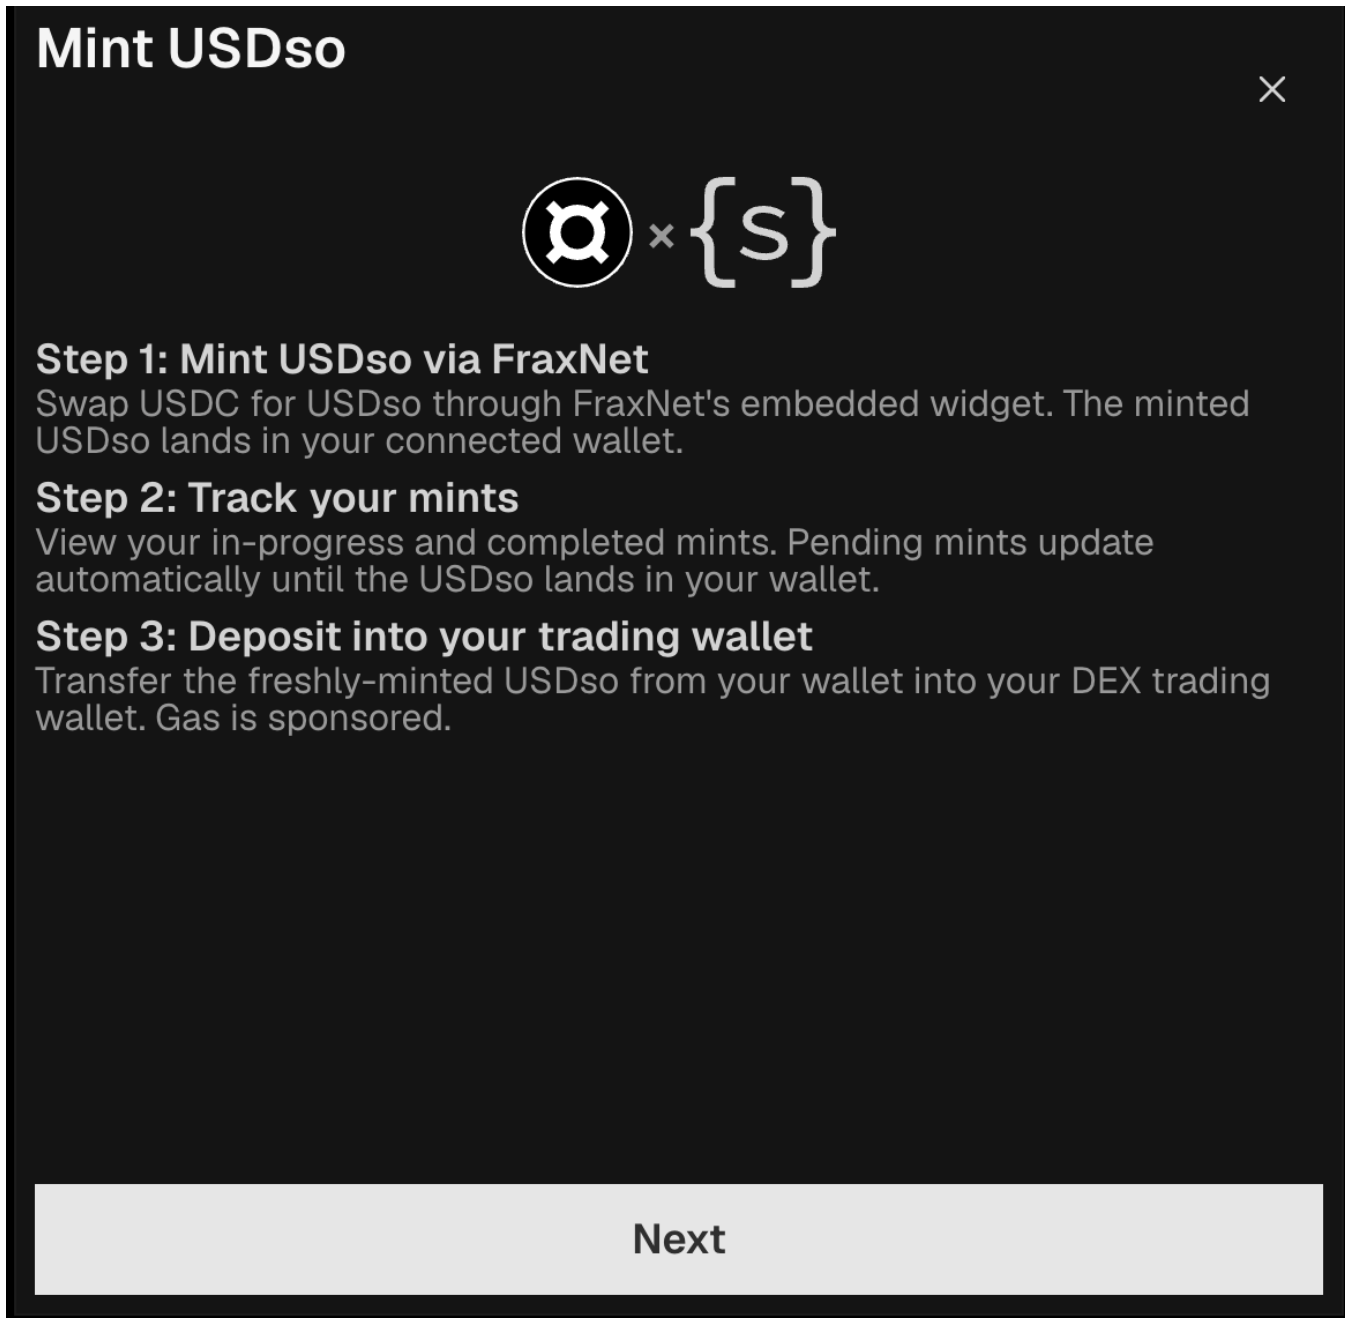
Mint via FraxNet → track the mint → deposit into your trading wallet.
Choose your source asset and chain
Select what you're minting from, then continue.
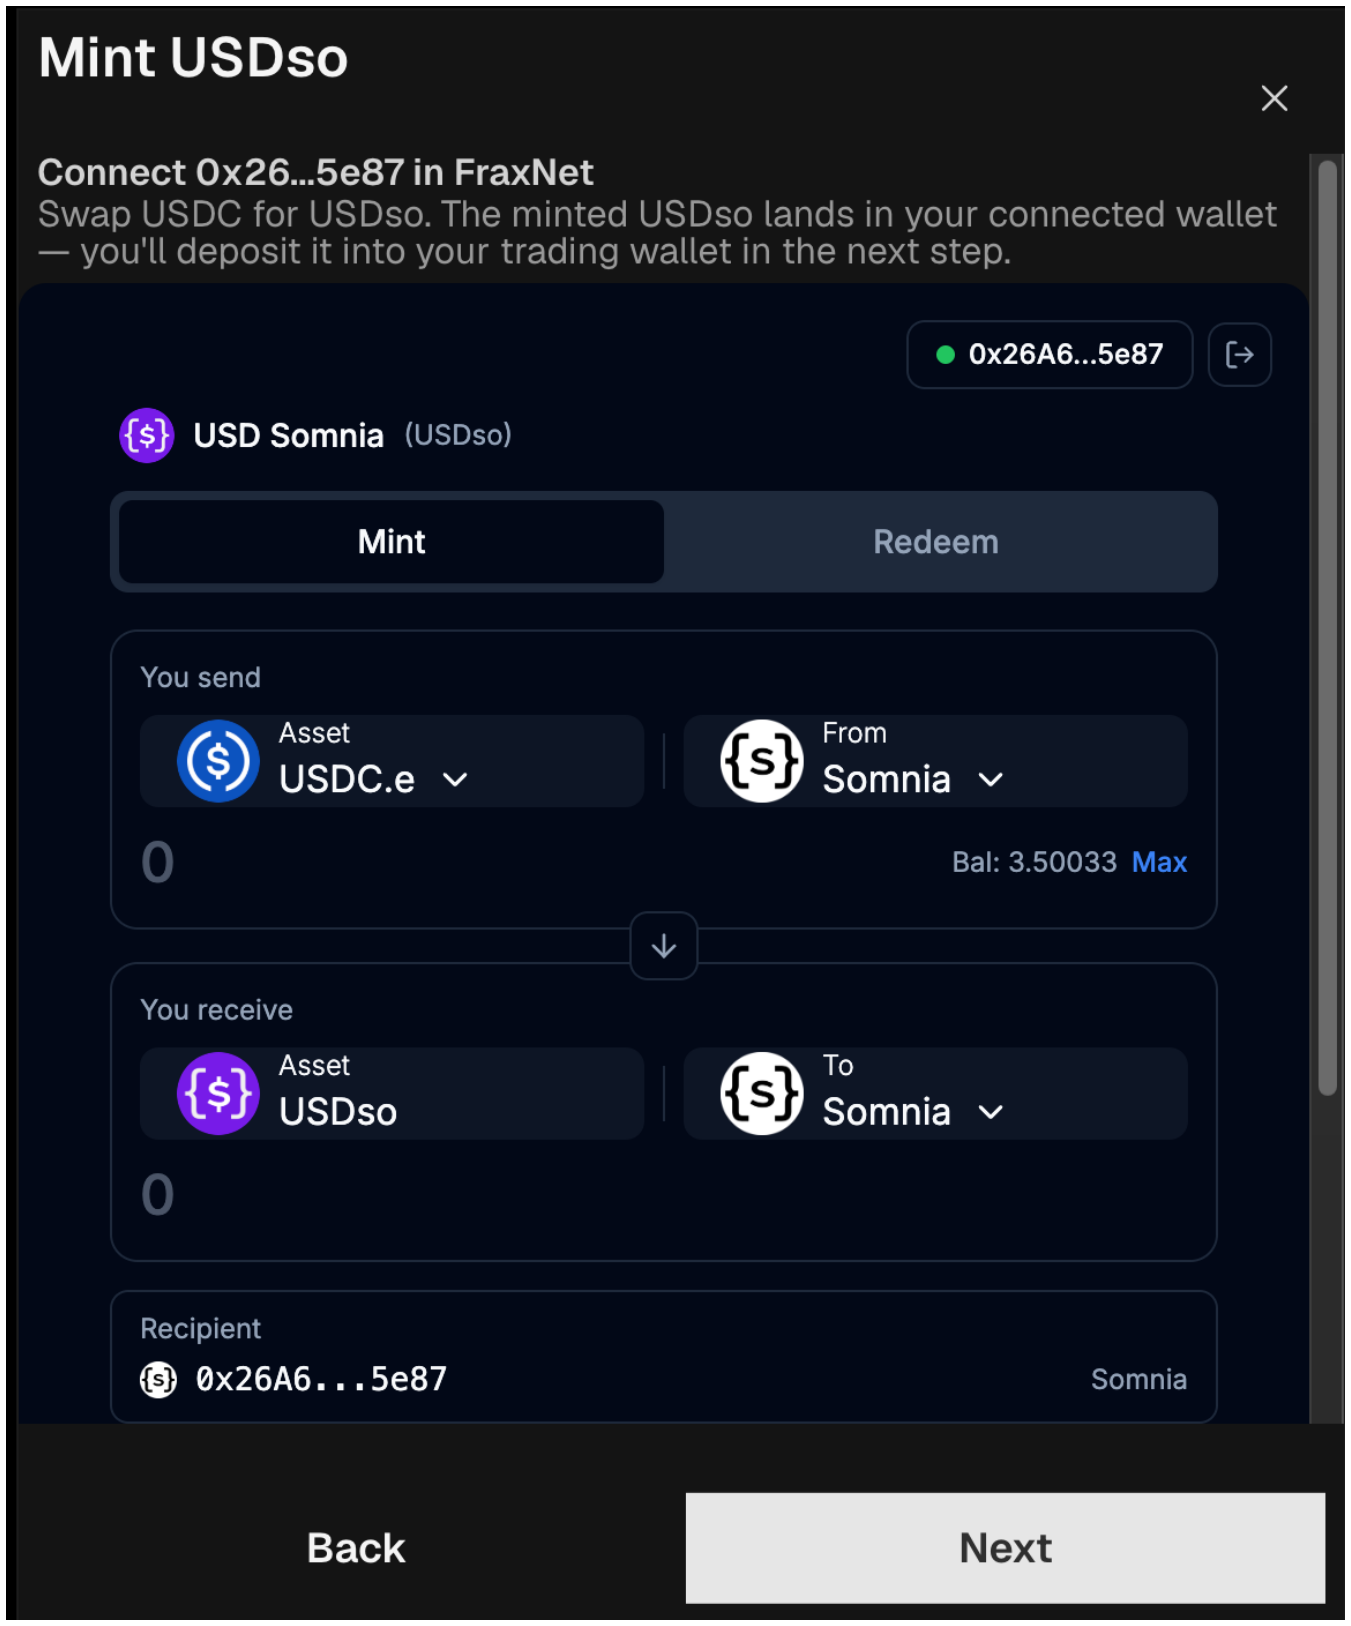
Swap USDC for USDso in FraxNet — it lands in your connected wallet.
Confirm the mint
USDso mints 1:1 against USDC.e. Click Mint USDso.
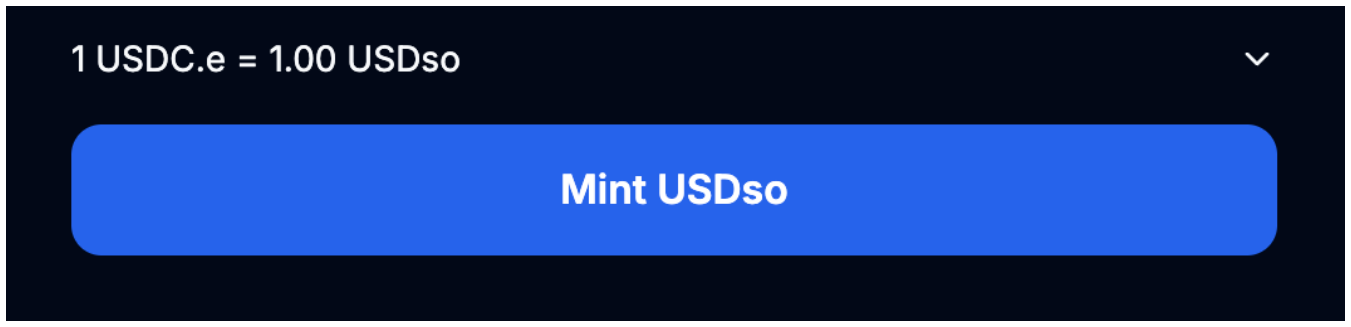
1 USDC.e = 1.00 USDso.
Wait for the mint to complete
Roughly 5–30 minutes depending on source asset and chain. Track progress here — it updates automatically until the USDso lands.
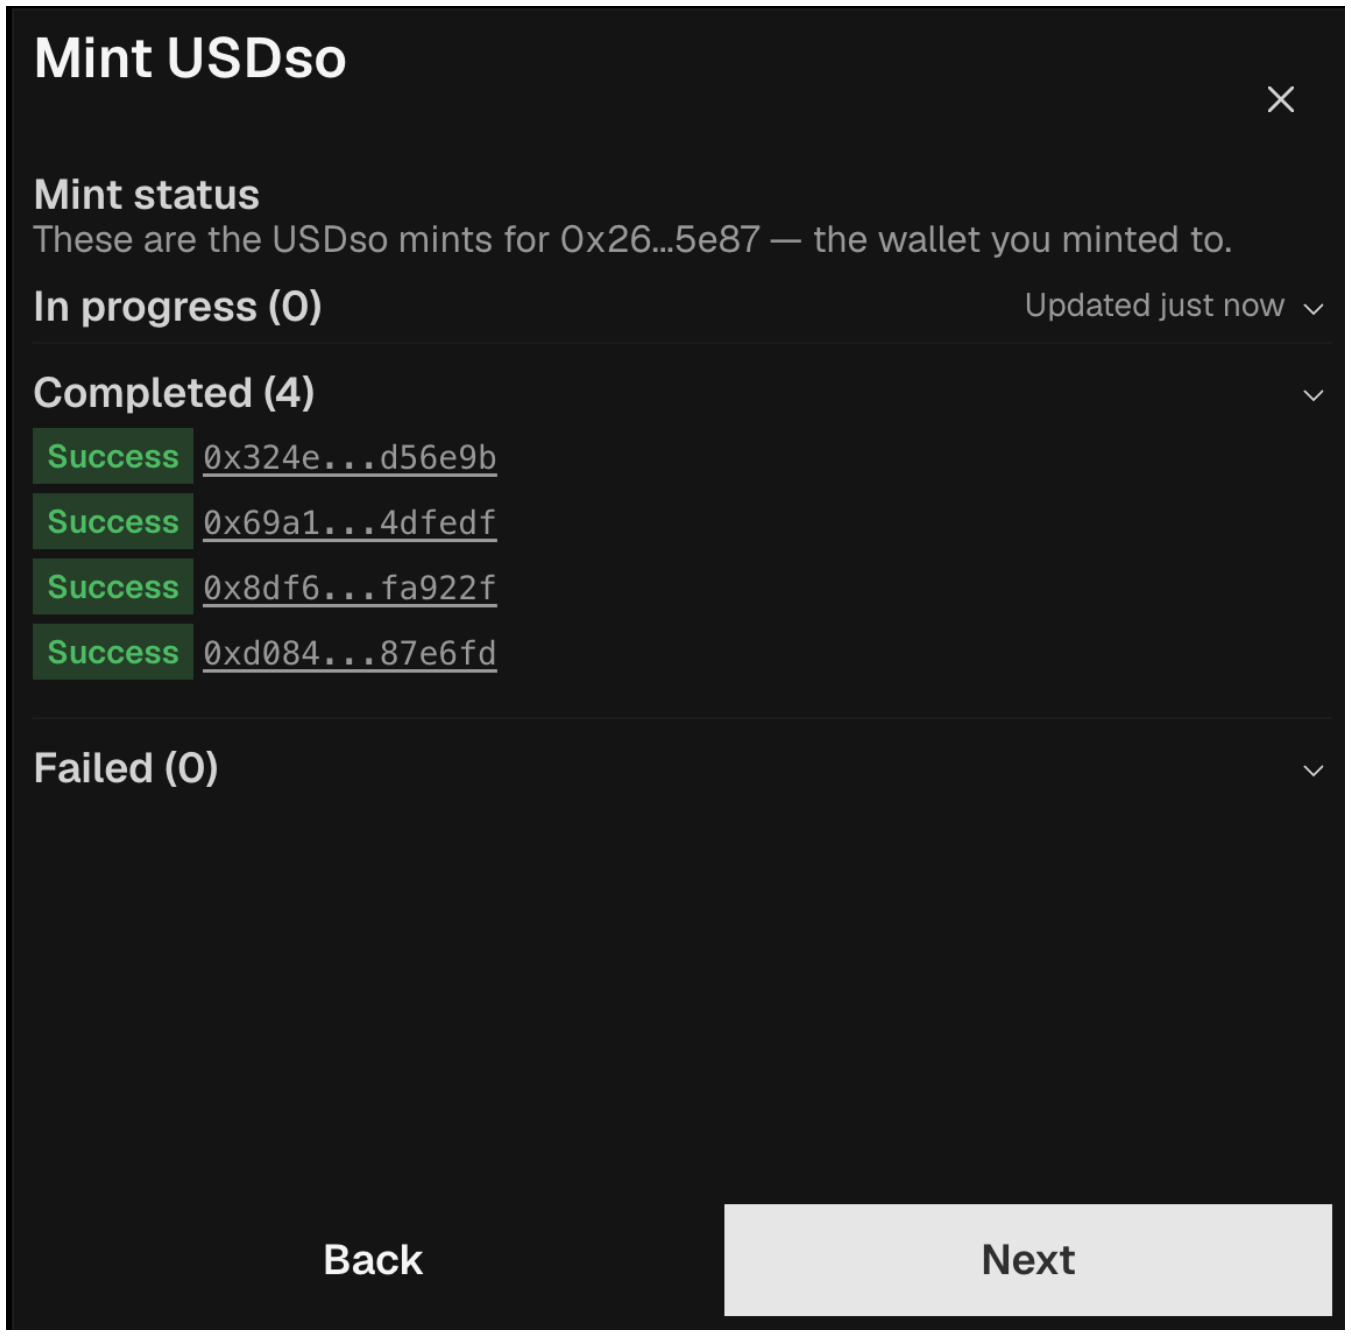
Mint status updates until USDso lands in your wallet.
Deposit into your trading wallet
Once the USDso is in your personal wallet, click Deposit to move it into your smart (trading) wallet. This deposit is a Somnia transaction and requires the network's native token (SOMI on mainnet, STT on Shannon testnet) in your personal wallet to pay the network gas fee.
You're funded and ready to trade.
Next steps
- Simple Swap — the one-click way to place your first trade
- Order Types — limit, market, stop, and time-in-force options
- Fees — how trading and gas fees work
- Quick Start — the API / CLI / contract flow for builders